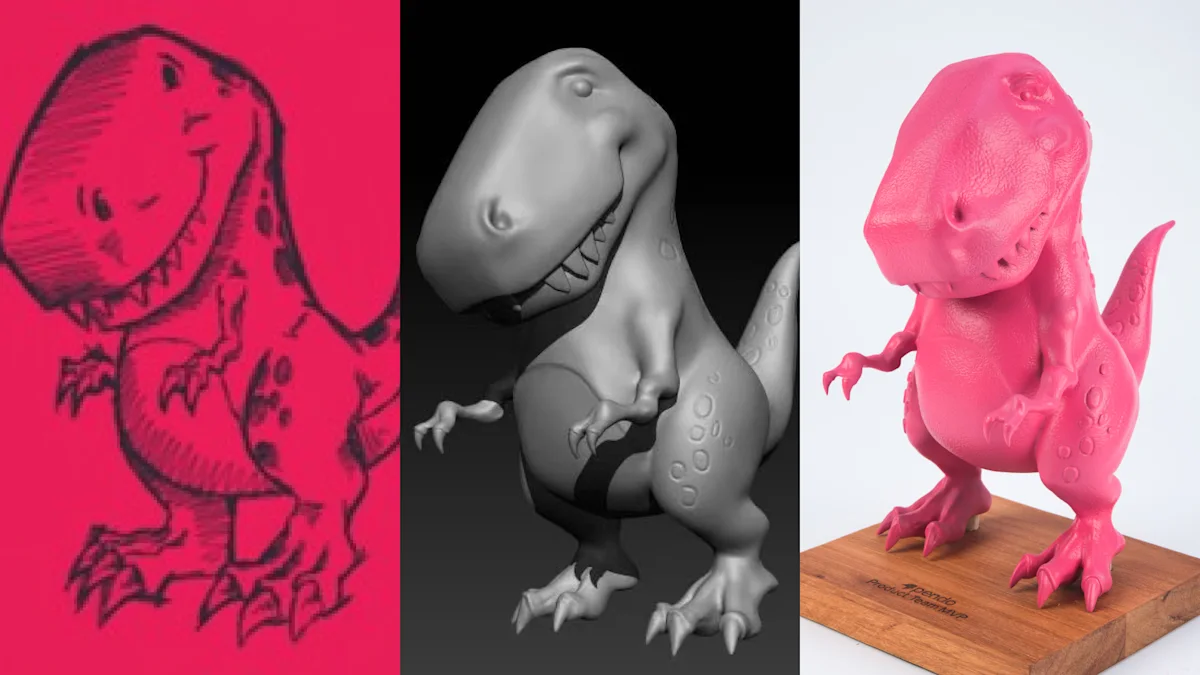
6 ways to turn an image into a 3D model
Pick by what you have and what you want at the end. One photo of a character you want on your desk is a different job from copying a sculpture you own, or a logo that has to fit a plaque.
| Method | What you need | Best for | Accuracy | Effort |
|---|---|---|---|---|
| AI image to 3D (one photo) | One clear image | Characters, toys, decor, quick drafts | Front looks right; back and hidden parts are guessed | Minutes, no skills |
| AI multi-view (2–4 photos) | Front, side and back views | Objects that look different from each side | Better than one photo; still approximate | Minutes, paid plans on most tools |
| Photogrammetry | Dozens of overlapping photos of a real object | Copying something you own: sculptures, parts, rooms | True shape and size, if the photos are good | An hour or two |
| Model it by hand | Reference photos and 3D software | Logos, parts that must fit, clean printable figures | Exactly what you model | Hours to days; needs 3D skills |
| Relief or lithophane | One flat image | Photos on a plaque, logos, light panels | Raised or backlit 2D, not a full 3D object | Minutes |
| Hire a 3D modeler | Photos from as many angles as you have | Likenesses, pets, props, anything you will print and show | Sculpted to your photos, approved before printing | Days; you review |
AI image to 3D model tools
AI image-to-3D generators are the fastest way from a picture to a 3D model. Upload a photo, wait a minute or two, and you get a textured mesh. They are good at characters, toys and decor, and weaker at anything precise. These four are worth trying first.
| Tool | Input | Free option | Files | Good for | Watch out for |
|---|---|---|---|---|---|
| Meshy | One image; multi-view images on Pro and up | Free plan: 100 credits a month, limited downloads, CC BY 4.0 license (credit Meshy if you use it commercially) | STL, OBJ, GLB, FBX, USDZ, BLEND | Fast textured models; has an STL repair tool and slicer plugins | Paid plans for multi-view and more downloads |
| Tripo | One image, or up to four views on paid plans | Free plan for single images; its own guide says free-plan models are not for commercial use | STL, 3MF, OBJ, GLB, FBX, USD (per its feature page) | Characters and figurines; 3MF export for slicers | Check the license before you sell prints |
| Hunyuan3D 2.1 (Tencent) | One image | Open model weights; free demo on Hugging Face, or run it on your own computer | Mesh download from the demo; convert in Blender if needed | Shape plus PBR texture, no account needed to try | Running it yourself needs a big GPU: 10 GB of video memory for shape, 29 GB with texture |
| TRELLIS.2 (Microsoft) | One image | MIT-licensed code and model; Hugging Face demo | GLB | High-detail shapes; free to run on your own hardware | Needs an NVIDIA GPU with 24 GB+ and Linux to run locally |
How to use an AI image-to-3D generator, step by step
- Pick or take a clean photo (tips below). Crop it so the object fills most of the frame.
- Upload it to the generator. If the tool offers it, remove the background first.
- Generate two or three versions. They vary a lot; keep the best one.
- Spin the preview. Look at the back, the feet, the hands and anything thin.
- Download STL or 3MF if you will print it, GLB or OBJ if you want color textures.
- Open it in your slicer or Blender and run the printability checks further down.
Other generators work the same way. Prices and quality move every few months, so test with your own photo before you pay.
How to prepare a photo for image to 3D
The photo decides most of the result. A clean picture gets a clean model from every tool; a busy one gets a lumpy guess.
- One object, alone. No hands, people or clutter in the frame.
- A plain background that contrasts with the object.
- Soft, even light: daylight from a window or an overcast day. No hard shadows, no flash glare.
- A three-quarter view usually works best for AI tools. It shows the front and one side.
- Sharp focus, full resolution, whole object in frame with some margin.
- Matte beats shiny. Glass, chrome and mirror surfaces confuse every method.
- For faces and pets, eye-level shots from the front and side.
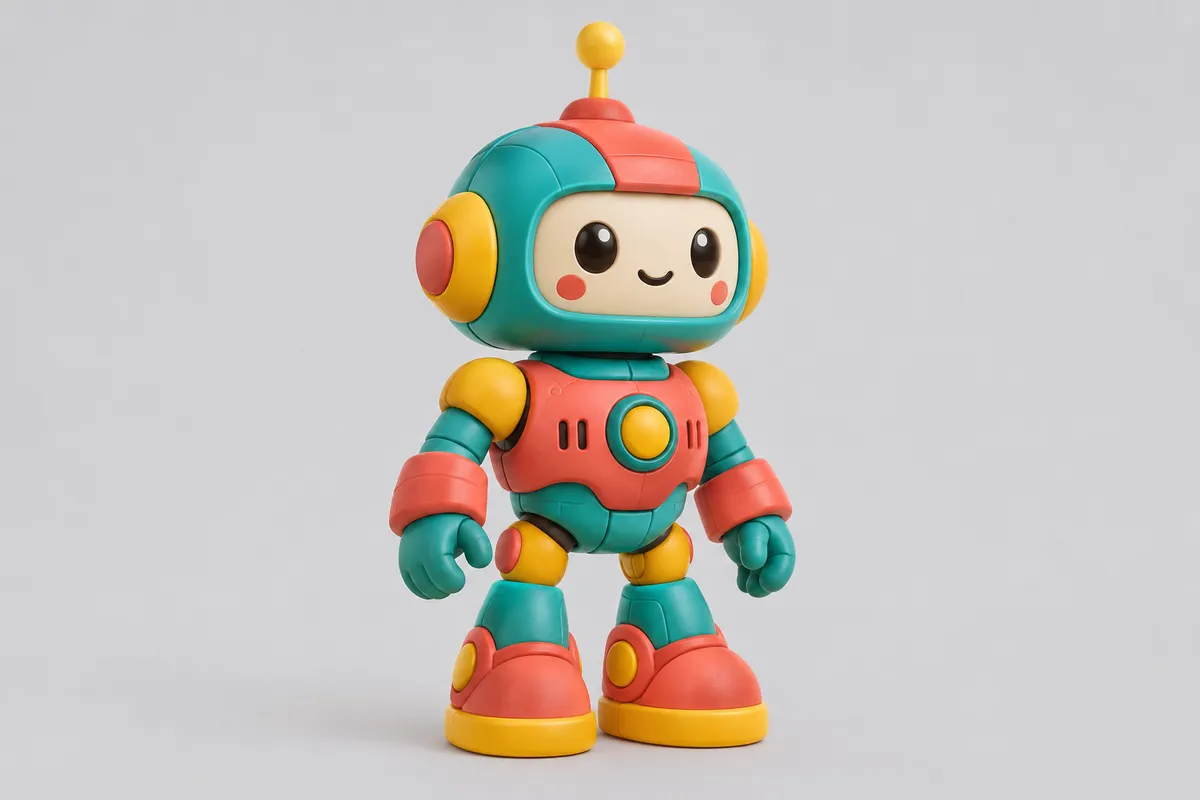
Photo to 3D model from many photos (photogrammetry)
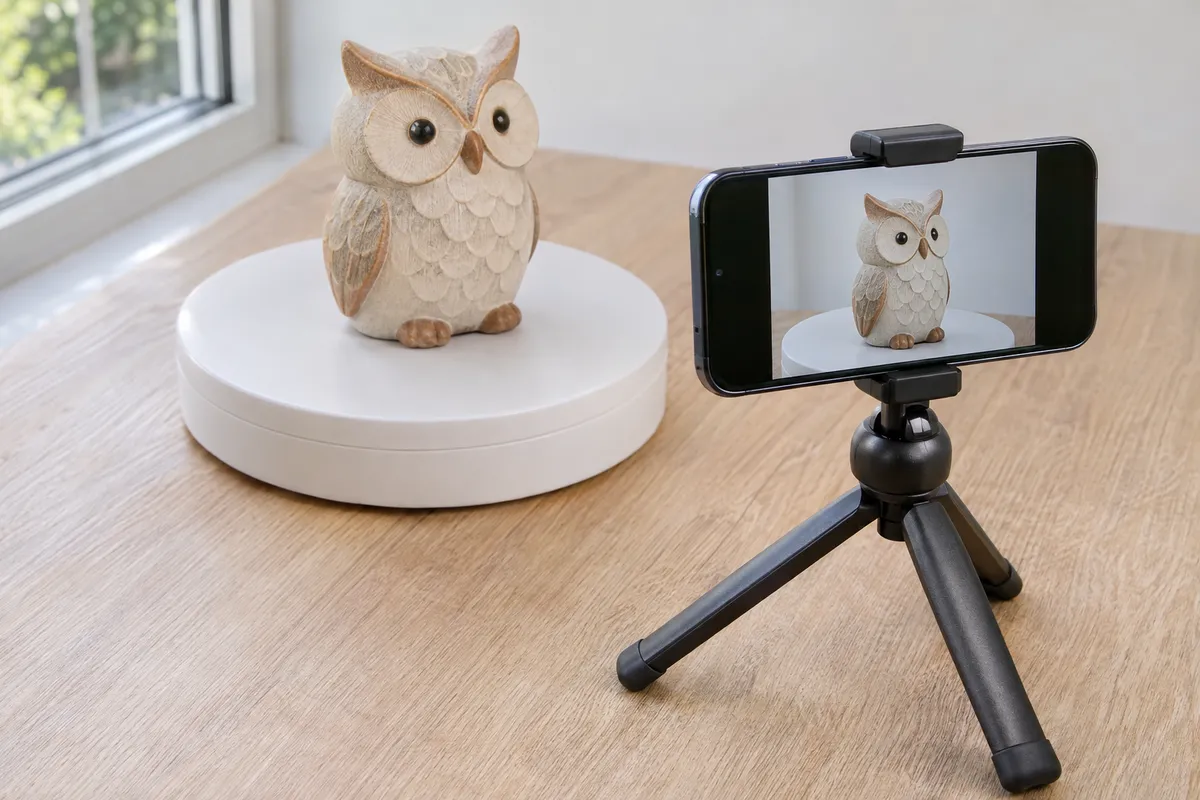
If the object exists and you can walk around it, photogrammetry beats AI on accuracy. The software matches points across many photos and works out the real shape. Nothing is guessed, so the result is only as good as your coverage.
- Put the object on a plain surface or a turntable, in soft even light.
- Walk around it, or turn it, and take a photo every 10–15 degrees. Each photo should overlap the last one by well over half.
- Do a second lap from higher up, and a third from low down. Then shoot the top.
- Keep the object still and the focus sharp. Don’t zoom between shots.
- Load the photos into the software and let it build the mesh.
- Trim the floor and background off, fill holes, and scale it to real size with one known measurement.
| Tool | What it is | Free option |
|---|---|---|
| RealityScan (Epic Games) | Phone app and desktop app for photo scanning | Free for individuals and businesses under $1 million in yearly revenue |
| Polycam | Phone and web app; photo mode builds a mesh from your pictures | Free plan: 10 photo captures, up to 150 images each, GLTF export only (STL and OBJ on paid plans) |
| Meshroom (AliceVision) | Desktop photogrammetry for Windows and Linux | Free and open source; uses your GPU |
Shiny, clear, black or very thin objects scan poorly. For those, a 3D scanning service is the better route.
Make a 3D model from a picture by hand
Modeling from reference photos is how professionals do it when the shape has to be right: a part that must fit, a logo with sharp edges, a face that has to look like someone. Blender is free and does all of it.
- Put your photos on reference planes in Blender (front and side views, same scale).
- Block out the big shapes with simple primitives. Check proportions against the photos.
- Refine: sculpt organic forms, or model hard edges for parts and logos.
- Join everything into one closed mesh and set the real size in millimeters.
- Export STL or 3MF.
A common shortcut: start from an AI model, then fix it by hand. The AI gives you rough volume; you rebuild the parts it got wrong.
Flat image to 3D: logos, reliefs and lithophanes
Sometimes you don’t need a full 3D object. A logo, a drawing or a photo can become a raised 2.5D piece in a few minutes.
- Logo or drawing. Trace it to a vector (SVG) with a tool like Inkscape, import the SVG into Blender or Tinkercad, and extrude it to the thickness you want.
- Photo on a plaque (relief). Use the image as a height map: light areas stand up, dark areas sink. Blender’s Displace modifier does this on a dense flat plane.
- Lithophane. A thin panel that shows the photo when light shines through it. The free 3DP Rocks Image to Lithophane tool makes the STL in your browser.
Turn the 3D model into a printable file
A model that looks fine on screen can still fail in the slicer. Check these before you print, whichever method made it.
- Closed (watertight) mesh. No holes, no loose pieces, no faces pointing inward. Slicers flag “non-manifold” errors; Blender’s 3D Print Toolbox and most slicers can fix simple ones.
- Wall thickness. Thin bits print badly or snap. As a starting point keep walls and small parts at least about 1 mm for resin and 1.5–2 mm for filament, more for a big piece.
- A flat base. AI models often stand on uneven feet. Cut the bottom flat or add a base so it prints and stands.
- Real size. Most image-to-3D files have no units. Set the height in millimeters before you export.
- Polygon count. Huge AI meshes can choke a slicer. Decimate to a few hundred thousand triangles; you won’t see the difference in print.
- Hollow if it’s big. A solid resin statue wastes resin and can crack. Hollow it with a wall of a few millimeters and add drain holes.
Which file format to export
| Format | Use it when |
|---|---|
| STL | Works with every slicer. Shape only: no color, no units. |
| 3MF | Newer slicer format. Keeps units, colors and print settings in one file. |
| OBJ | Shape plus color texture. Use it for full-color printing or to edit the model elsewhere. |
| GLB / GLTF | For the web, AR and games. Convert to STL or 3MF before printing. |
How to 3D print a picture
- Open the STL or 3MF in your slicer (Bambu Studio, PrusaSlicer, Cura or your printer’s own).
- Pick the material. Resin for small detailed figures; filament for larger, tougher pieces.
- Orient it so the face and other details print without supports touching them.
- Add supports, slice, and check the layer preview for floating parts.
- Print, remove supports, sand, prime and paint.
No printer? Upload the file to a 3D printing service, or send it to us for 3D printing and painting.
What image to 3D can’t do (yet)
- One photo means a guessed back. The AI has never seen the other side. It invents something plausible, which may not be what is really there.
- Thin parts break. Fingers, antennas, tails and hair come out too thin or fused. They need thickening before printing.
- Texture is not shape. Much of the detail you see in a preview is painted-on color. A one-color print shows only the geometry, so it looks smoother than the preview.
- Faces are hard. AI gets a face that looks like a person, not always that person. A likeness needs several photos and a sculptor.
- No real size. A photo carries no scale. You set it, and photogrammetry needs one measured distance.
- Not every image is yours to copy. Making a model of a character or product someone else owns, to sell, needs their permission.
Or send us the photo and we’ll make it
If you want the finished object rather than the file, send us your photos. We model it in 3D, send you the model to approve, then print and paint it in New York and ship it anywhere in the U.S. One photo is enough to start; more angles make it closer to the real thing.
- 3D print from a photo. Props, replicas and statues from your pictures, printed at the size you need and painted to match. 3D modeling from $250; printing and painting quoted per project
- Custom figurines. People, mascots and characters, sculpted from your photos and painted by hand. Simple 6-inch figure about $450; likenesses quoted
- Pet figurines. Your dog, cat or other pet from the photos you already have. 3–4 inch painted from $300
- 3D modeling. Just the file: a clean, printable model from your photo, sketch or reference. From $250
Image to 3D model: common questions
Can I turn a picture into a 3D model for free?
Yes. Meshy and Tripo have free plans for single images, Hunyuan3D 2.1 and TRELLIS.2 have free online demos and open models, and Blender is free for modeling by hand. Free plans limit downloads and may limit commercial use, so read the license before you sell anything you print.
What is the best AI image to 3D model generator?
There is no single winner, and results change with every model update. Run the same photo through two or three tools and keep the best result. For 3D printing, pick one that exports STL or 3MF, like Meshy or Tripo.
Can you make a 3D model from one photo?
Yes. AI image-to-3D tools build a full model from a single image, but they guess what the camera could not see. For an accurate model, add side and back views, use photogrammetry, or have the object modeled by hand.
How many photos do I need for photogrammetry?
Usually dozens: a photo every 10 to 15 degrees around the object, in two or three rings at different heights, plus the top. Complex or large objects need more. Overlap between photos matters more than the total.
Can I 3D print a model made from an image?
Yes, after a check. Make sure the mesh is closed, thin parts are thick enough, the base is flat and the size is set in millimeters. Then export STL or 3MF and slice it like any other model.
What file format do I need to 3D print a picture?
STL works with every slicer. 3MF is newer and keeps units and colors. OBJ carries color textures for full-color printing. GLB files from AI tools need converting to STL or 3MF first.
How do I turn a 2D drawing or logo into a 3D model?
Trace the drawing to a vector SVG, import it into Blender or Tinkercad, and extrude it to a thickness. For a photo on a plaque, use the image as a height map to make a relief. AI tools can also turn a character drawing into a full 3D figure.
Can I make a 3D model of a person from a photo?
AI tools make a figure that resembles the person, but rarely a true likeness. For a figurine that really looks like someone, send several photos (front, side, full body) to a sculptor who models the face by hand and shows you the model before printing.
How much does it cost to have a photo turned into a 3D model?
At PrintAWorld, 3D modeling starts at $250. A simple 6-inch painted figure is about $450 including the model, a 3–4 inch painted pet figure starts at $300, and props, statues and likenesses are quoted per project from your photos.